How to set room assignment for new bookings
How to set room assignment for new bookings
There are two ways to assign rooms for new bookings from the website or other booking channels in TravelLine WebPMS:
-
automatically into any available room in the category
-
into “No room”/ to be entered later
To change the way the rooms are assigned:
-
Go to “Property management” > “Front desk”.
-
Click on “View” to the right above the front desk.
-
In “Other settings” section, choose one of the options for “Add new reservations”.
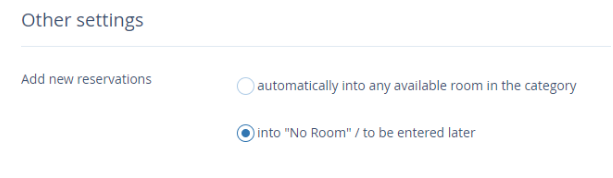
Automatically into any available room in the category
Choose this option to have rooms automatically assigned for new bookings.
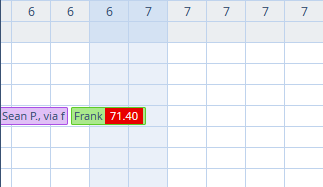
This is convenient, but there might be gaps you would avoid if you did this manually. For example, there is a vacant room, but the booking cannot be placed in it.
Into “No room”/ to be entered later
Choose this option to assign rooms for bookings manually.
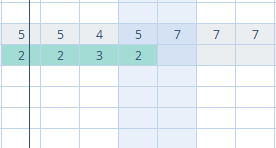
The number in “Without room” line stands for the number of bookings that have not been assigned rooms yet. It has to be done manually.
To assign a room for a booking:
Click on a booking with unassigned room
Click on “Action” > “Assign a room”

Choose a room and click on “Save”.
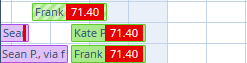
Manual room assignment allows to avoid gaps and periods when rooms are unoccupied.
Contact TravelLine Support
If you have any questions, you can always contact the technical support manager.
Call us or ask your question right now.